DIY Paper Marbling
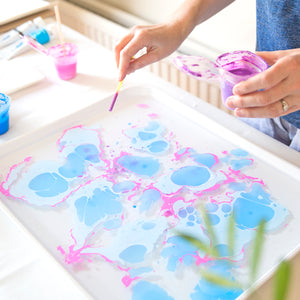
DIY paper marbling is great fun, and easy to do at home on your kitchen table. You’ll need to make an investment with a few key pieces of kit which can feel expensive. But it’ll set you up for lots of future sessions and after the first go, you will no doubt want to do more!
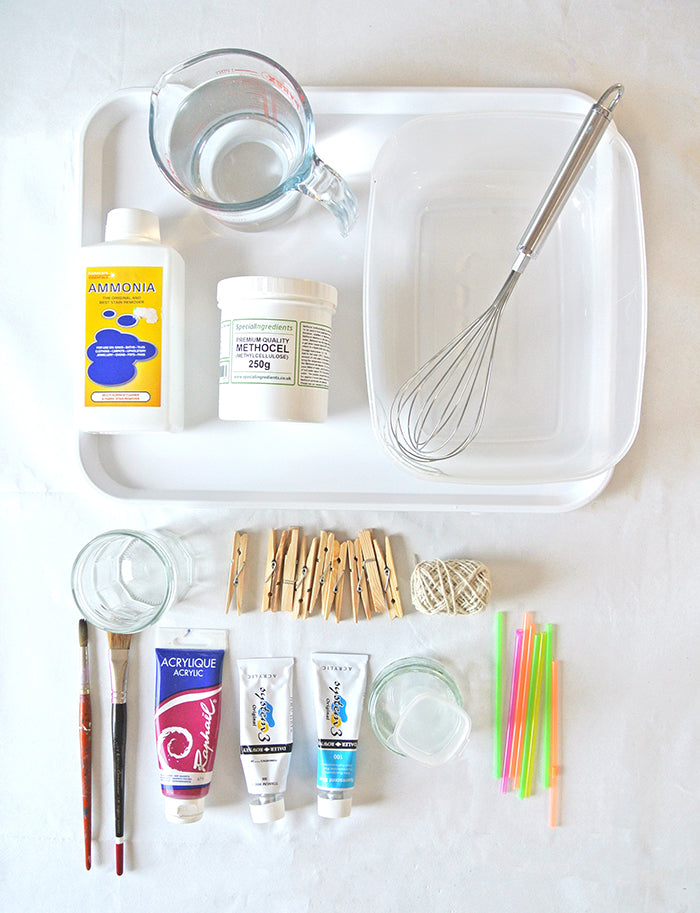
Here’s a list what you need to get started, including links of where to buy the more unusual items:
- Methocel – available from specialist food shops such as here
- Alum Powder – which you can find in spice shops like this Indian food store
- Shallow white tray big enough for your sheets of paper – I used a catering tray like this one
- Acrylic paint
- Ammonia, which you can buy in local DIY or home stores.
- One large container for marbling solution mix. I used a cheap plastic food box from our local hardware store.
- 4 pints of warm water
- Small containers, jug of water and brushes for paint mixing
- Washing up liquid and cup of water
- Straws for paint dispersion
- Sheets of watercolour paper – approx 300gsm. You can buy these in a pad, and will probably get through one or more pad per session.
- Pegs and string for hanging your marbled sheets
- Cass art have some great deals on watercolour papers and paints, here and here. You can use liquid acrylics, but these are quite expensive, and I found that mixing tube acrylics with water (because they are thicker in consistency) was a cheaper way to get great results.
Total cost for this kit is around £40. With this, you’ll have plenty of methocel, alum powder, ammonia and paint for many more sessions.
Instructions
1. Mix 1 teaspoon of alum powder with 1 cup of water then mix. Use a sponge to coat your paper in this mix, then leave the paper to dry. This process will ensure that your marbled colour stays on the paper.
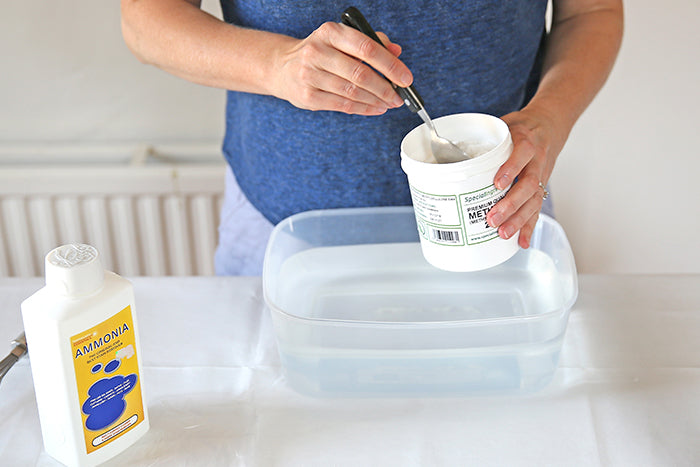
2.Take the large container and fill with the warm water.
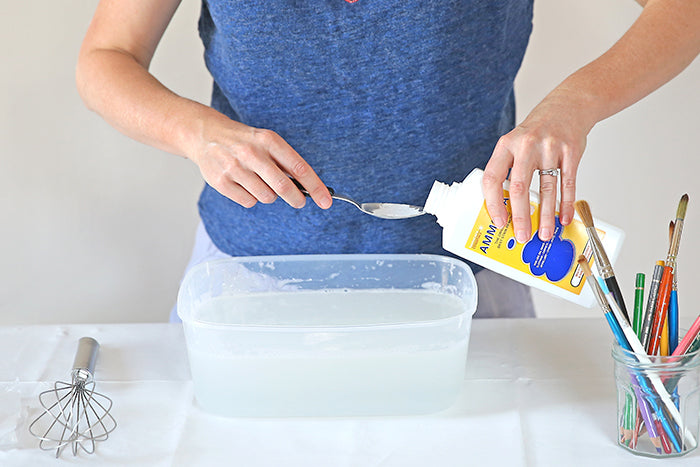
3. Put 1.5 – 2 tablespoons of methocel, and 0.5 tablespoons of ammonia into the water.
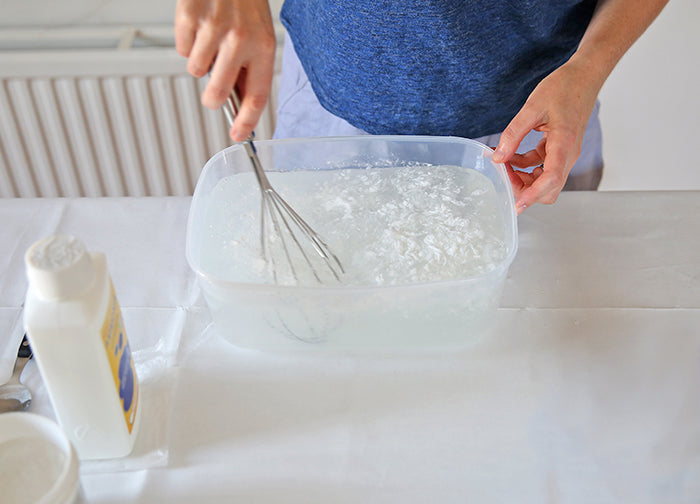
4. Mix well with a whisk until all the powder is dissolved. The consistency should be like egg whites.
5. Allow the mix to sit for a few minutes, then use the tablespoon to skim off any bubbles from the top.
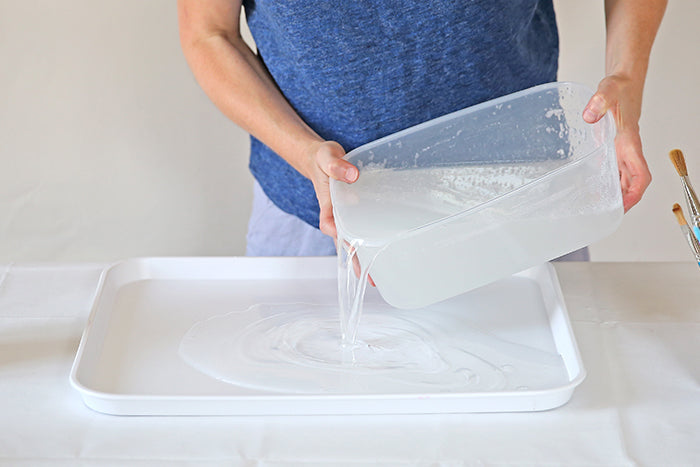
6. Pour the mix into the shallow white tray and allow to sit a few minutes. Skim any bubbles from the top.
7. While you’re waiting for the mix to settle, prepare your acrylic paints. If you’re using tube paints (as suggested in the kit list) then you need to mix the colours so they are the consistency of cream. Liquid acrylics can be used straight from the pot.
8. Mix a cup of hot water with a tiny amount of washing up liquid. This is used to help disperse the paint. Also add a tiny amount of this to your paint mixes.
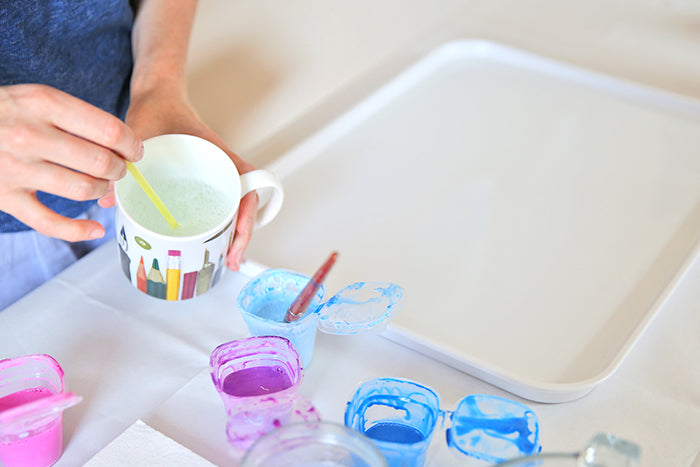
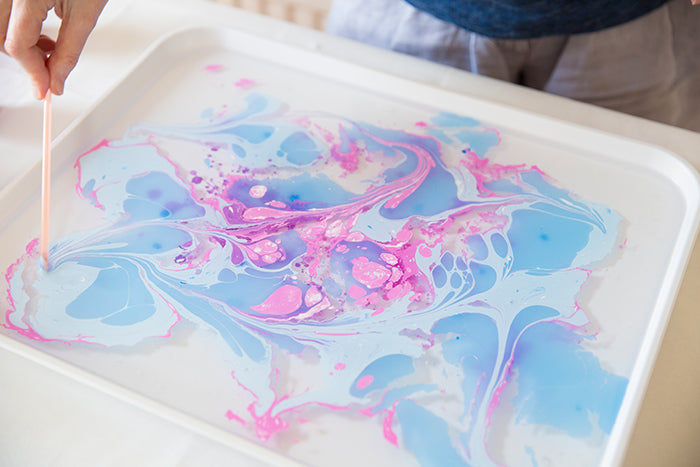
9. Now use the straws to put tiny drops of colour onto the surface of the marbling mix. Use the washing up liquid solution to spread to the colour too.
10. Take a straw, and run it through the colours. This is how to achieve the streaky effect you can see on most marbled paper.
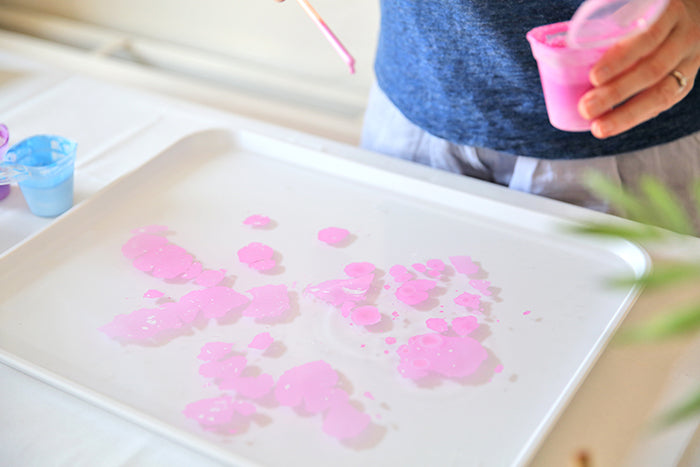
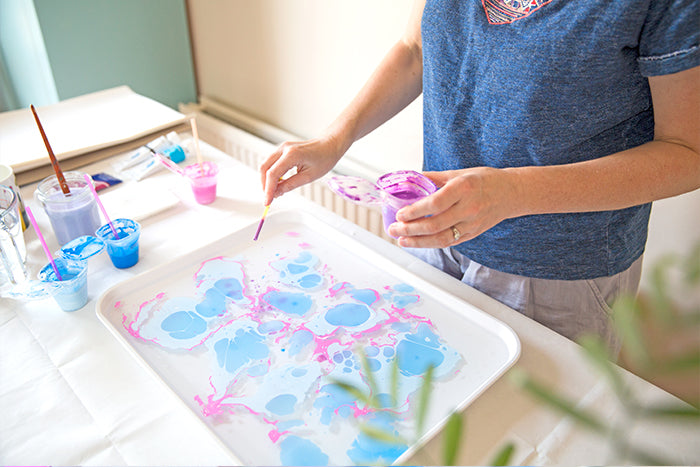
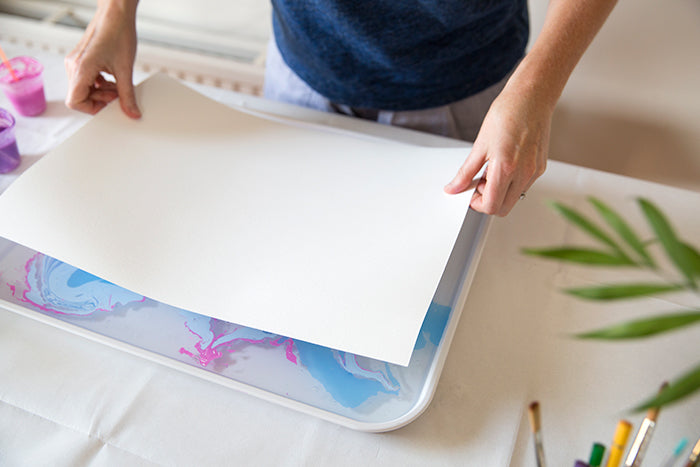
11. When you’re happy with the look, take a sheet of your prepared watercolour paper and lay it gently on top.
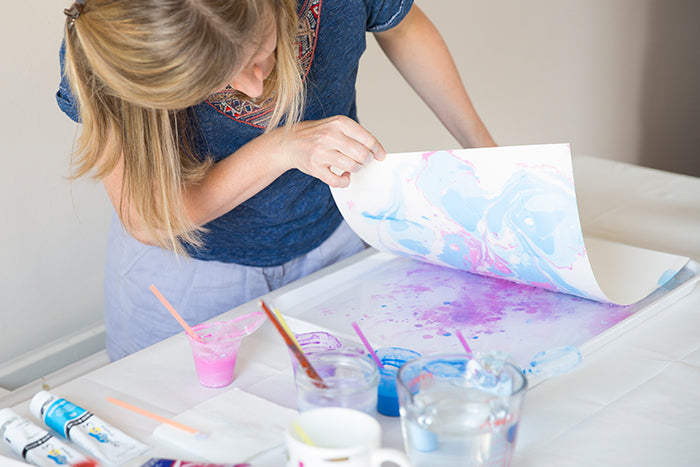
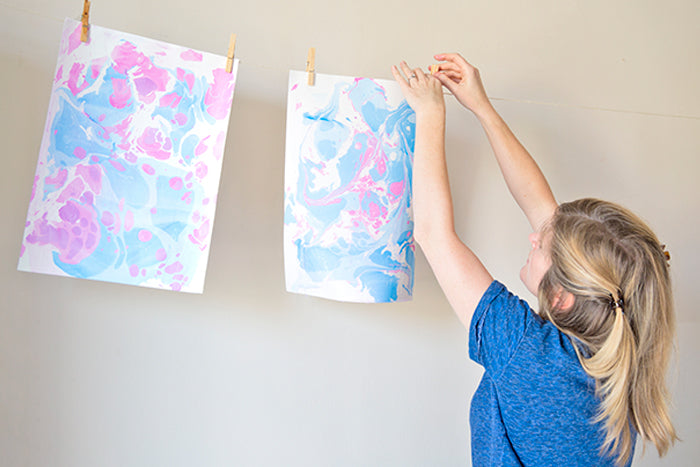
12. Lift the paper off, and hang it up to dry.
And that’s it!
After one attempt, you’ll understand the best consistencies of marbling solution, and the paint. Just get started, and if the solution is looking a bit sticky or the paint is too washed out, you can adjust things as you go along.
I’d love to see your results, tag @roxwellpress on social media if you post any pictures on social media!
Soon I’ll be showing you how to make notebooks with the paper – sign up to the newsletter and have the tutorial delivered straight to your inbox.
x Michelle
Leave a comment
Comments will be approved before showing up.


