
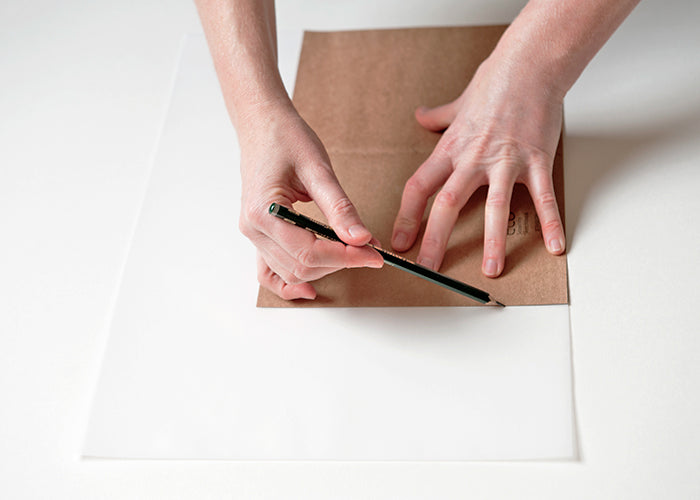
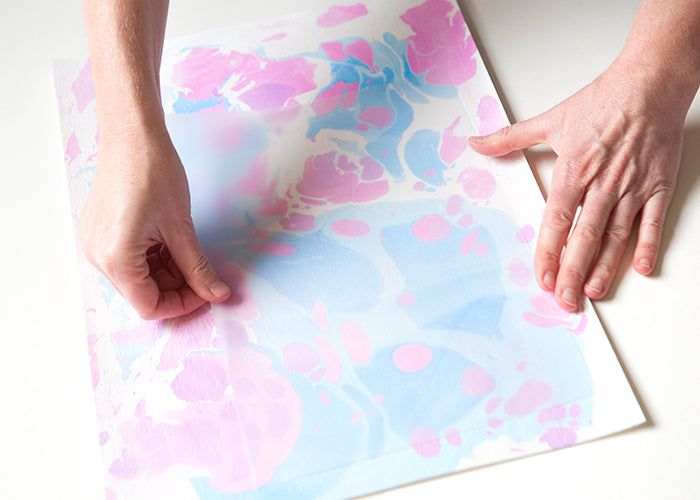
3. Lay the cover template onto the sheet of marbled paper. You’ll be able to see the marble pattern underneath the sheet. Move the cover template around until you’ve found the area you’d like for the cover of your book.
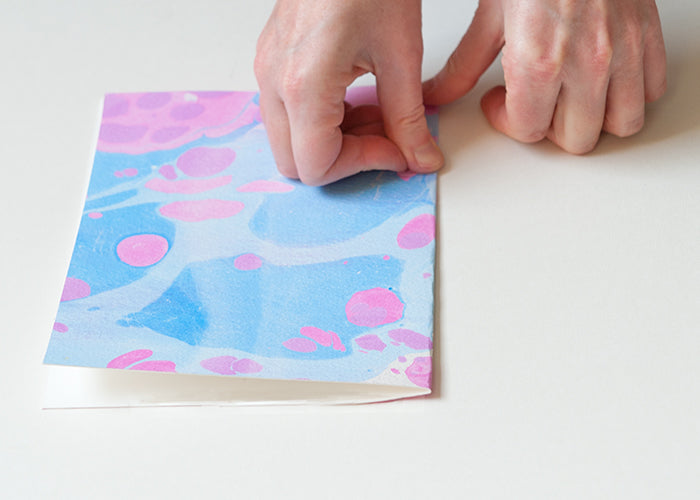
4. Draw around the cover template, then cut out the shape you’ve drawn. Fold in half lengthways to create a crease, then open up again.
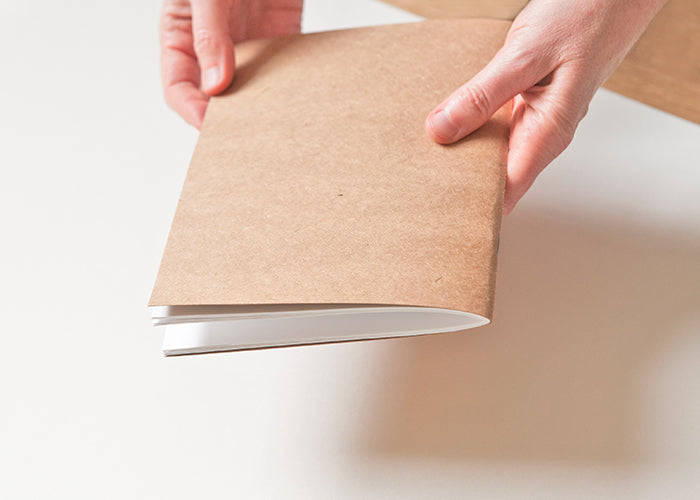
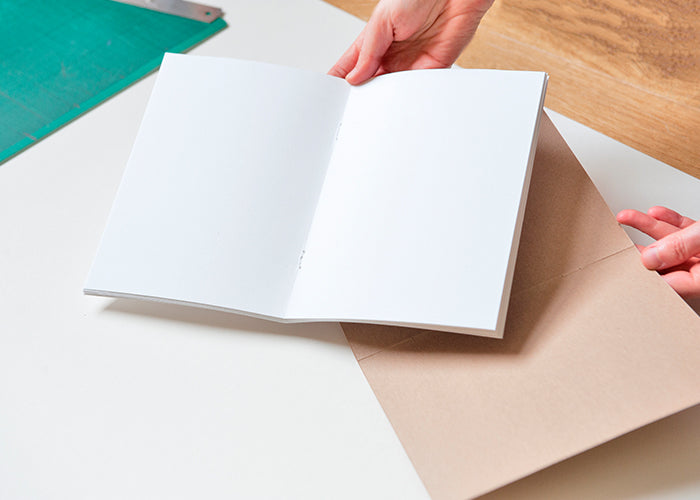
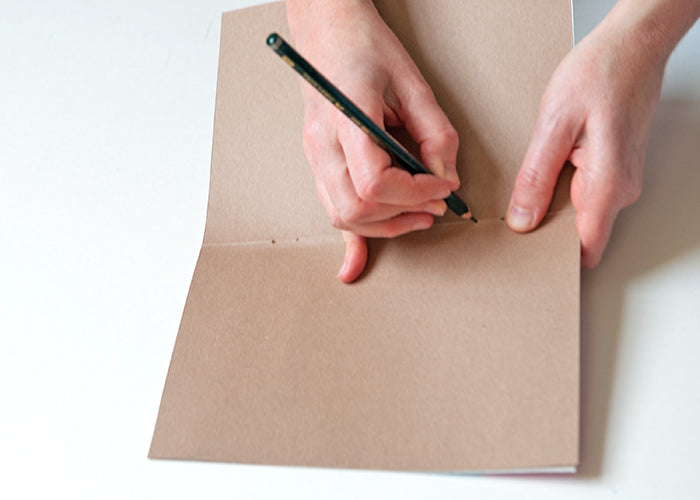
5. Take the original cover and lay this inside your marbled cover. Use a pencil to mark the staple holes – going through the original cover and onto the inside your marbled cover.
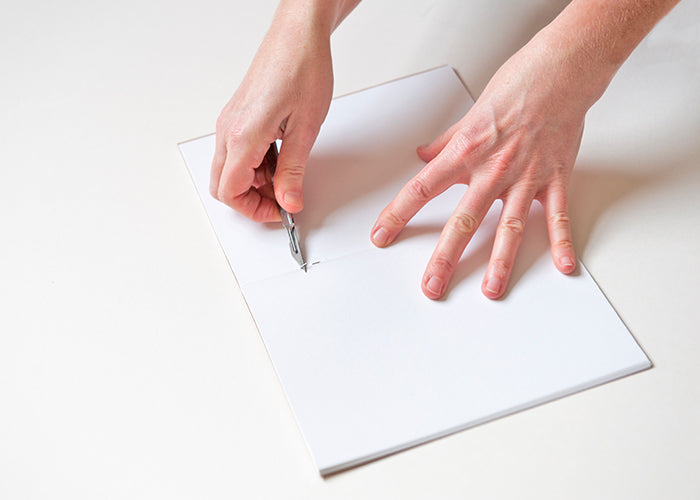
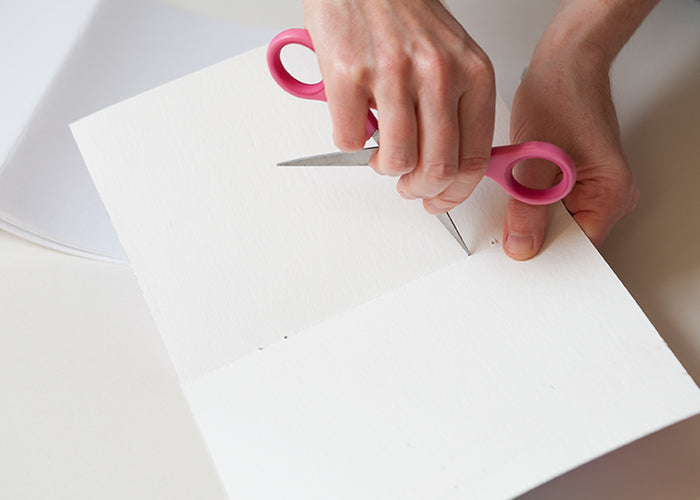
6. Use a pair of scissors or knife to make staple holes in the marbled cover.
7. Take the staples you removed in step 1, and place them into the holes you’ve just made in the marbled cover.
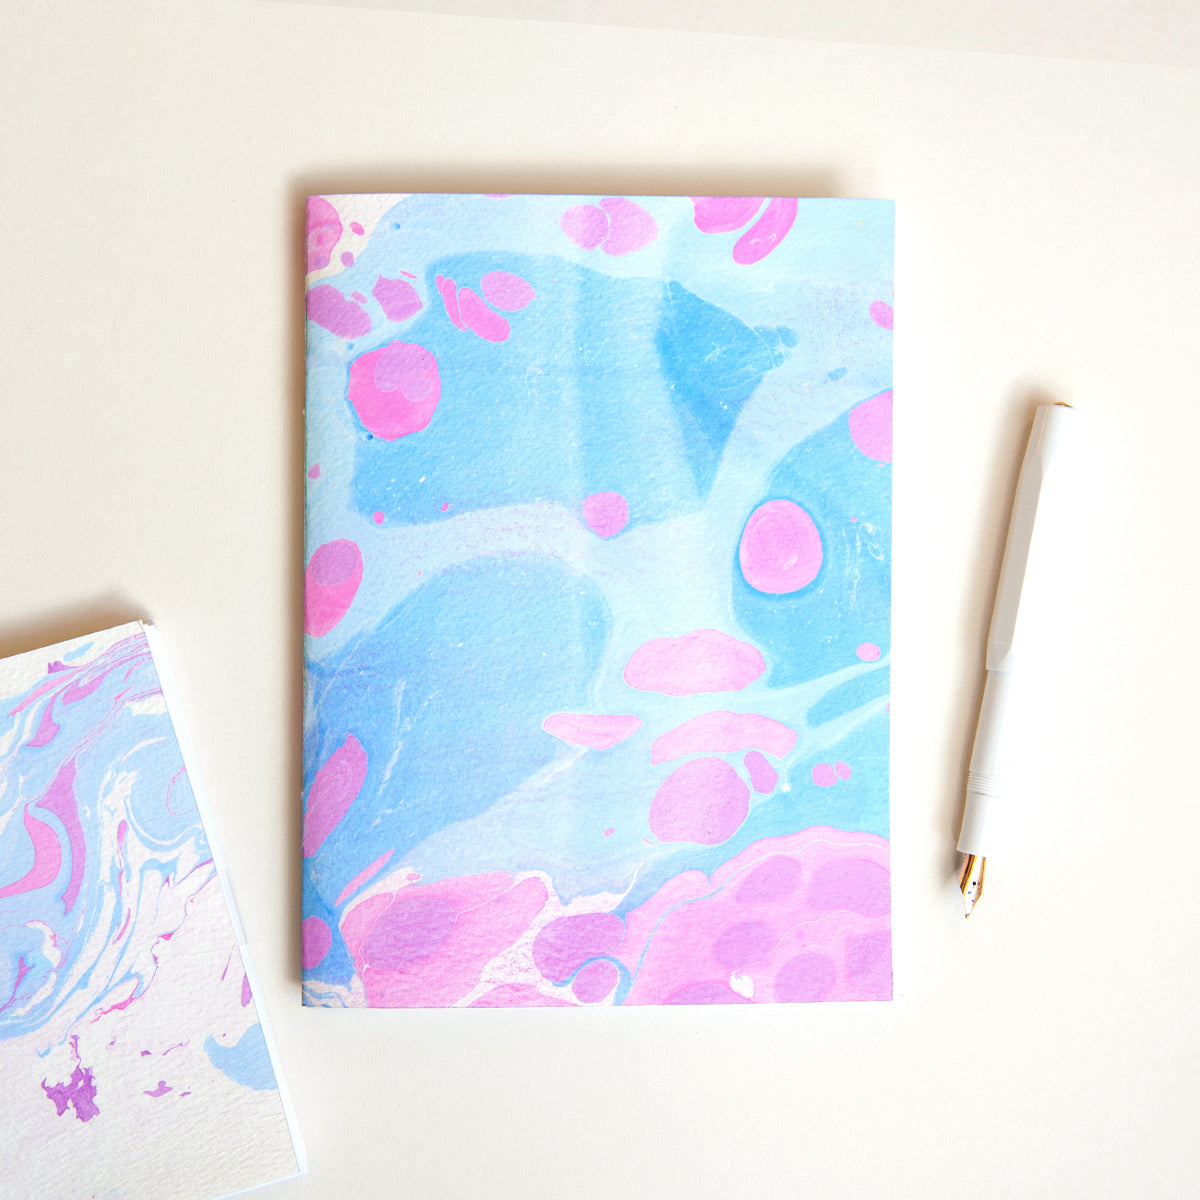
6. Carefully push the sheets of paper onto the staples, until all the sheets are in place. Then fold the staples back into the centre to secure the pages in place.
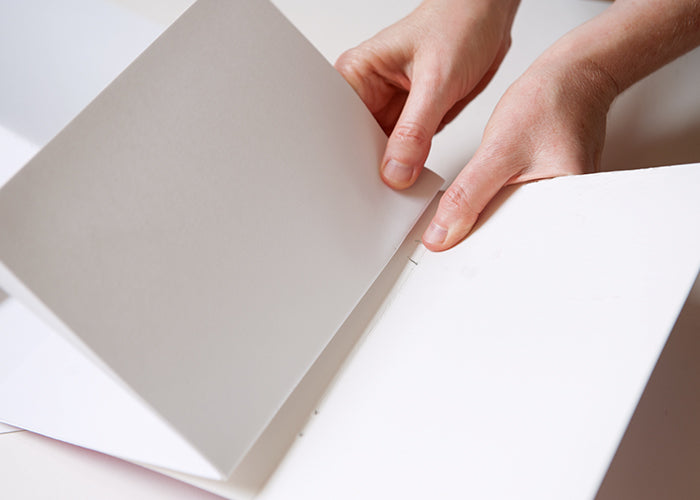
The pages can be a little fiddly to thread back onto the staples, and they may not be exactly flush to the sides of the notebook. But that’s all part of the unique look to this book, something special made by you.
Keep up to date with new journal posts by signing up to the monthly newsletter, or follow on Instagram.
Enjoy your creativity!
x Michelle
Comments will be approved before showing up.
